What you need is a coffee filter as a cutting pattern. And a natural fiber that is densely woven. So, check your closet for an old cotton shirt that you wanted to sort out anyway. It could work well for you little project, if:
• It is undyed and untreated (so not a black shirt for example). • The fabric is made from organic cotton.
What is the background? During the brewing, the hot water may set free chemical substances in the fabric – in case there are any. So, you need really need to be careful. And why should you use a fine fabric? If it is woven too coarsely, it might let some of the coffee grounds seep through. That is not really tasty. If the fabric is too thick, the coffee drips through too slow, the extraction time becomes too long, and your coffee will most likely taste bitter.
Let’s get started:
Your piece of fabric should measure about 6×12 inches. Fold it into a square. Place the cutting pattern on top and make sure that one of the outside edges lays on the fold of the fabric. Cut out along the edges. Unfold the fabric and sew around the edges with a zigzag stich or (if your sewing machine allows) with an overlock stitch.
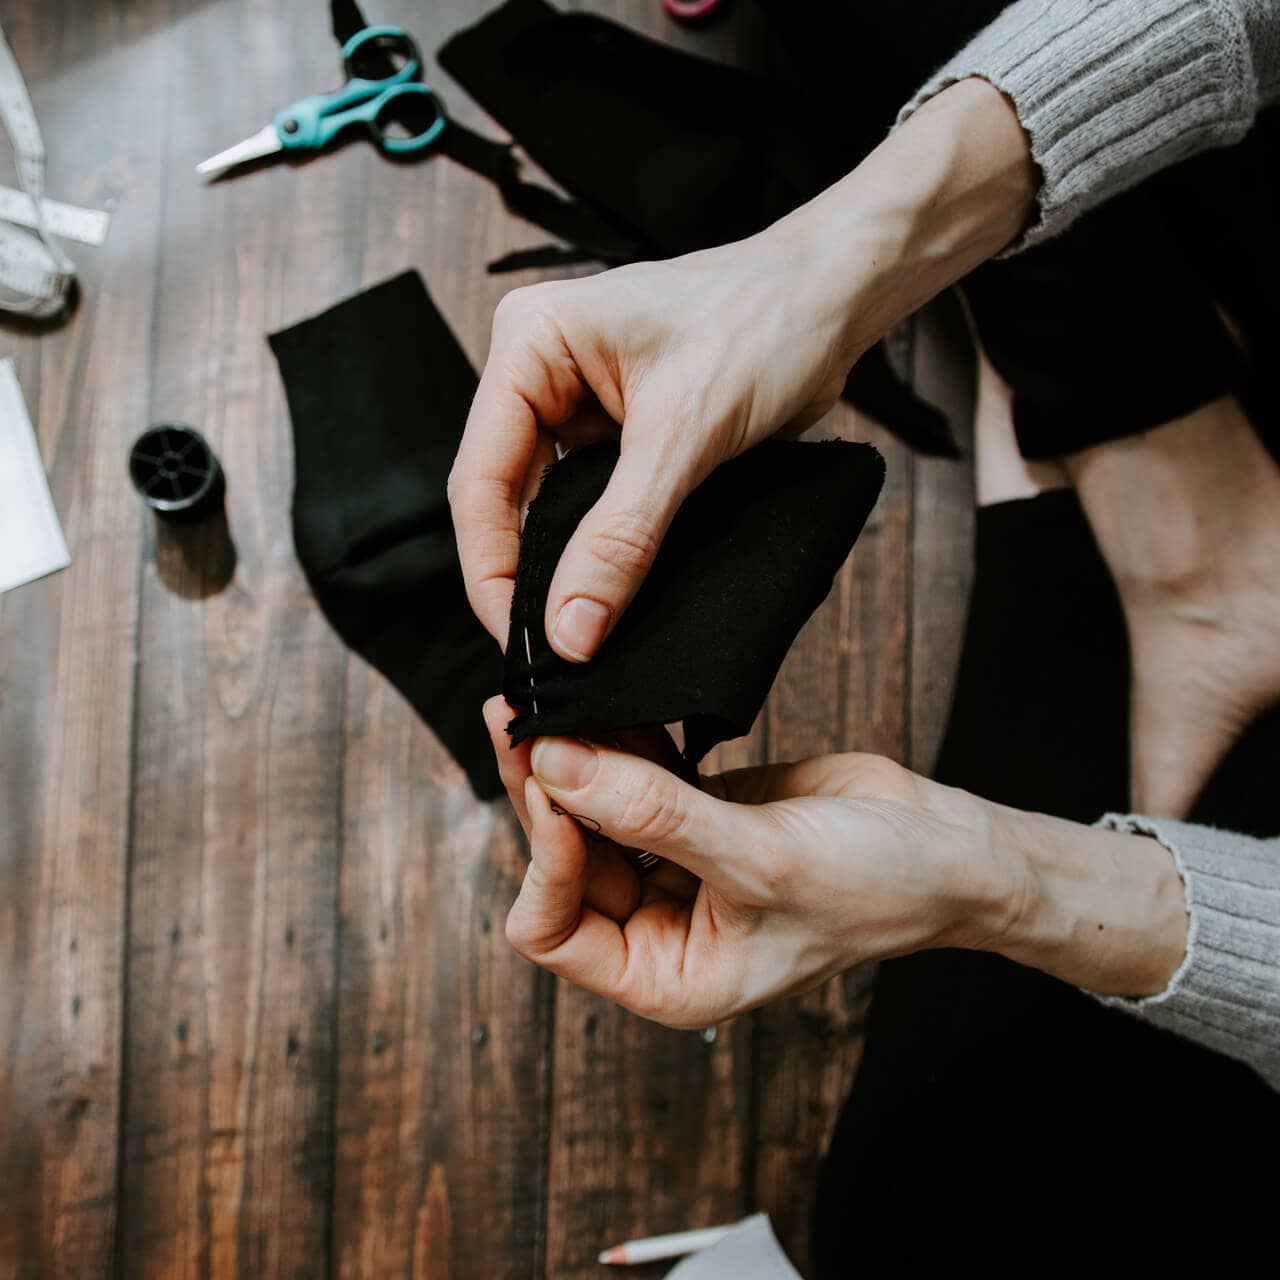
Now, fold the fabric again, fixate it with some pins, and sew together the side and the bottom (with zigzag or overlock stitches). Done. If needed, you can cut off the excess fabric at the seam.
photo: kelly sikkema on unsplash
photo: kelly sikkema on unsplash
It is important to always clean and dry the cloth filter well after using it. Then, it will probably last a lifetime. And if the DIY is too time-consuming for you, you can of course just go ahead and buy a cloth filter.